October 4th, 2008 - Labels
 Recently I read a tutorial on labels. So I decided to make my own tutorial using a different method .
Â
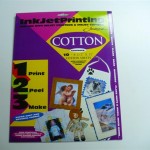
This is the fabric I used to print this label. Once I decided what I wanted to write,
I centered my lines and decided on the font and the size I thought looked best.
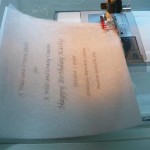
I inserted the inkjet fabric into the printer according to the printer instructions, face up or down depending on the printer model.I usually use a HP inkjet printer but for some reason today I printed on the laser printer.
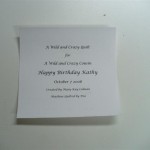
This is my printed label. I really like the idea of using the printer for labels. I have tried all sorts of methods and I find that this way is the fastest and the easiest. If only I could figure out how to make it so the ink doesn’t wash out or fade. The girl at the computer store told me all inkjet ink is water soluble and it will always wash out a little bit. Now I have to try a few of the products like Retayne and see if it makes a difference. But this time I used the laser printer although it’s not recommended for fabric. I just had to try it once.
   Â
                                   Â
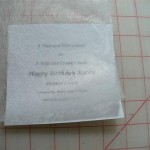
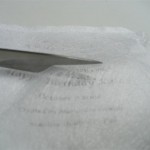
 Next you peel off the backing paper off the label. I found this a little difficult this time but I think it’s from the heat of the laser printer.
 Then I used the “Do-sew” product. It’s like an interfacing web that I cut out to the size of the label.  Â
 I sewed the Do-sew on to the front of the label using a 1/4″ seam allowance.
I cut a little slit in the Do-sew.  Â
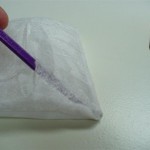
Turned the label right side out using that handy tool “That Purple Thang” . Â
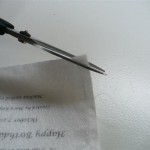
I snipped the corners off and pressed the label nice and flat.
Â
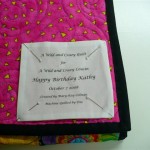
Then I pinned the label to the back of the quilt and hand stitched it on.Â
 Well good luck on your labels.
M-KÂ Â Â Â Â Â Â Â Â Â Â Â Â Â Â Â Â Â Â Â Â
October 7th, 2008 at 8:55 am
I had an Idea…what if you sprayed like scotchguard over it so that it kind of seals it. I think it might be a good experiment.